Card, Challenge

Gorgeous Geisha

I created a card to enter in a couple of challenges. I will provide info on products used at the end of this post 🙂

First Challenge – is for cupcakeinspirationsbadge

I used the color as my inspiration for my cards.

This is a color challenge–use cream, rose, and black.
Below is the cupcake image to inspire you to create a card
or other craft project.

CIC438.jpg
The second challenge is for –

bannersmaller3

… entertaining ourselves with all of the beautiful digi stamps that A DAY FOR DAISIES has to offer.  We want you to get excited and join us in this week’s ANYTHING GOES challenge.

The third challenge is for –

img_0930

This is another ANYTHING GOES challenge!

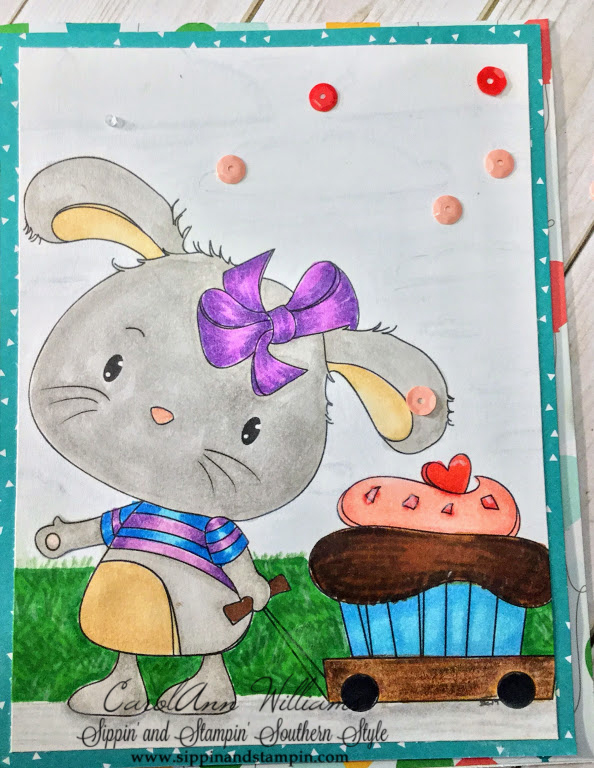
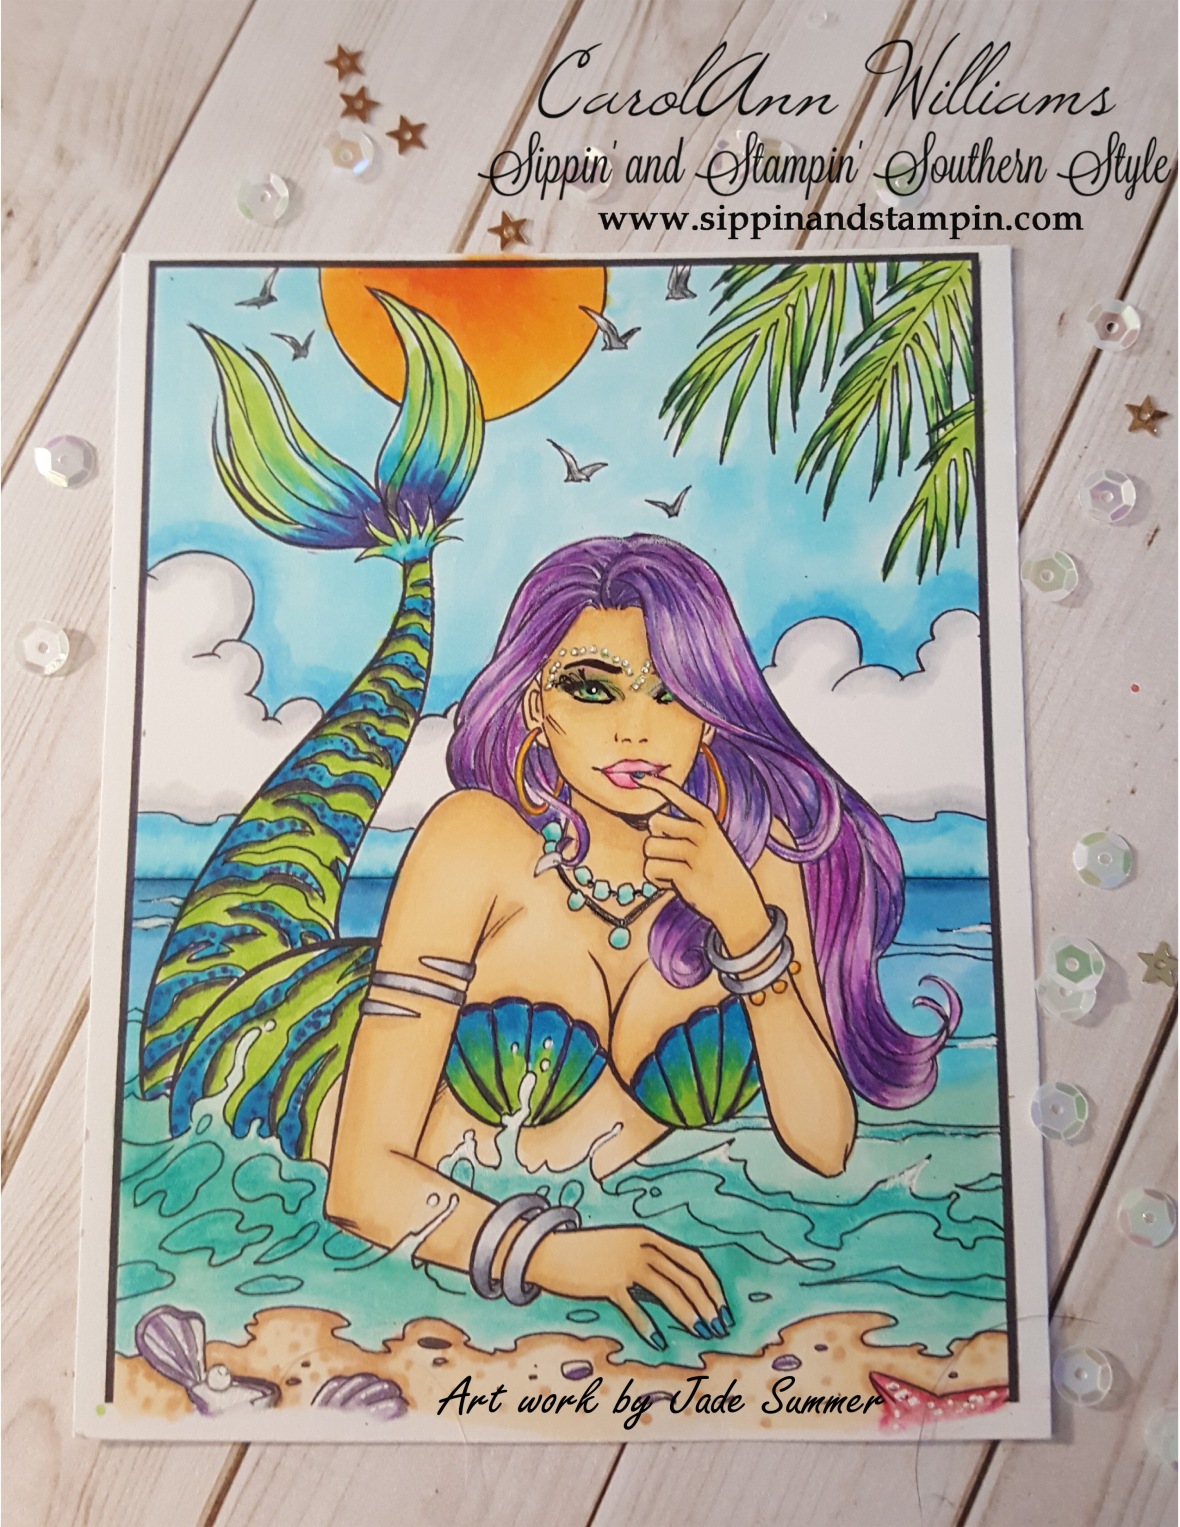
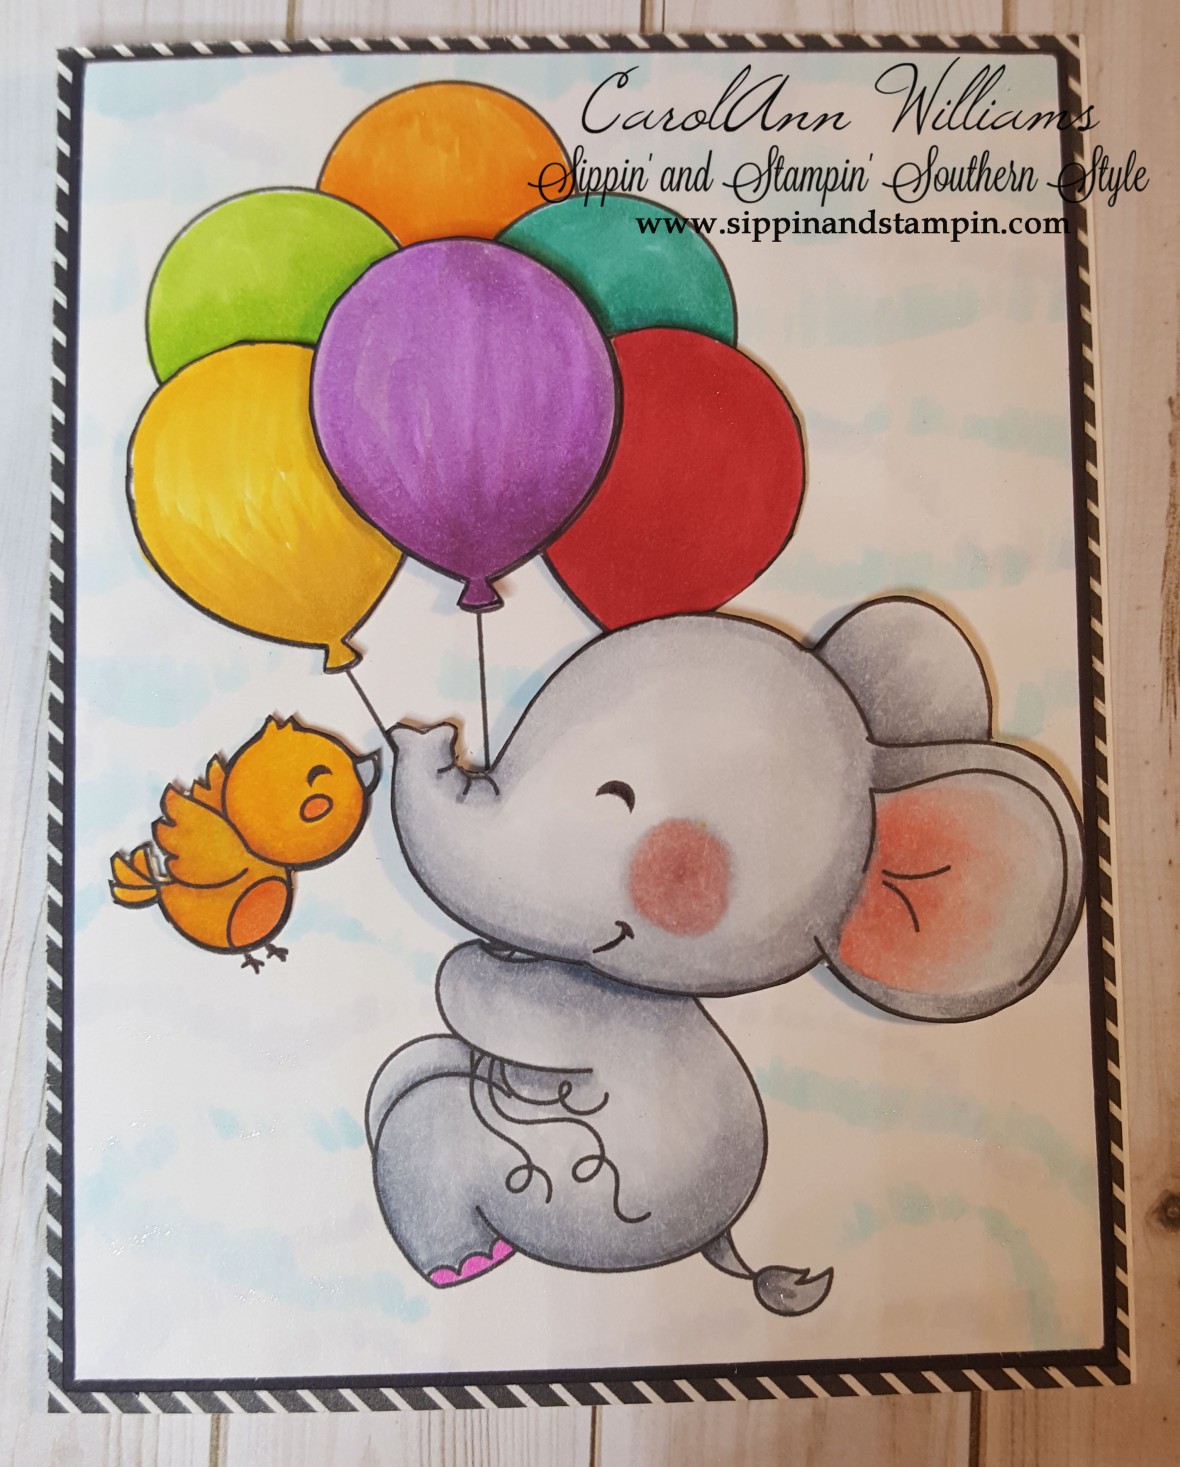
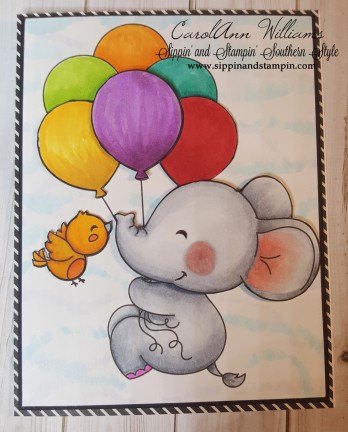
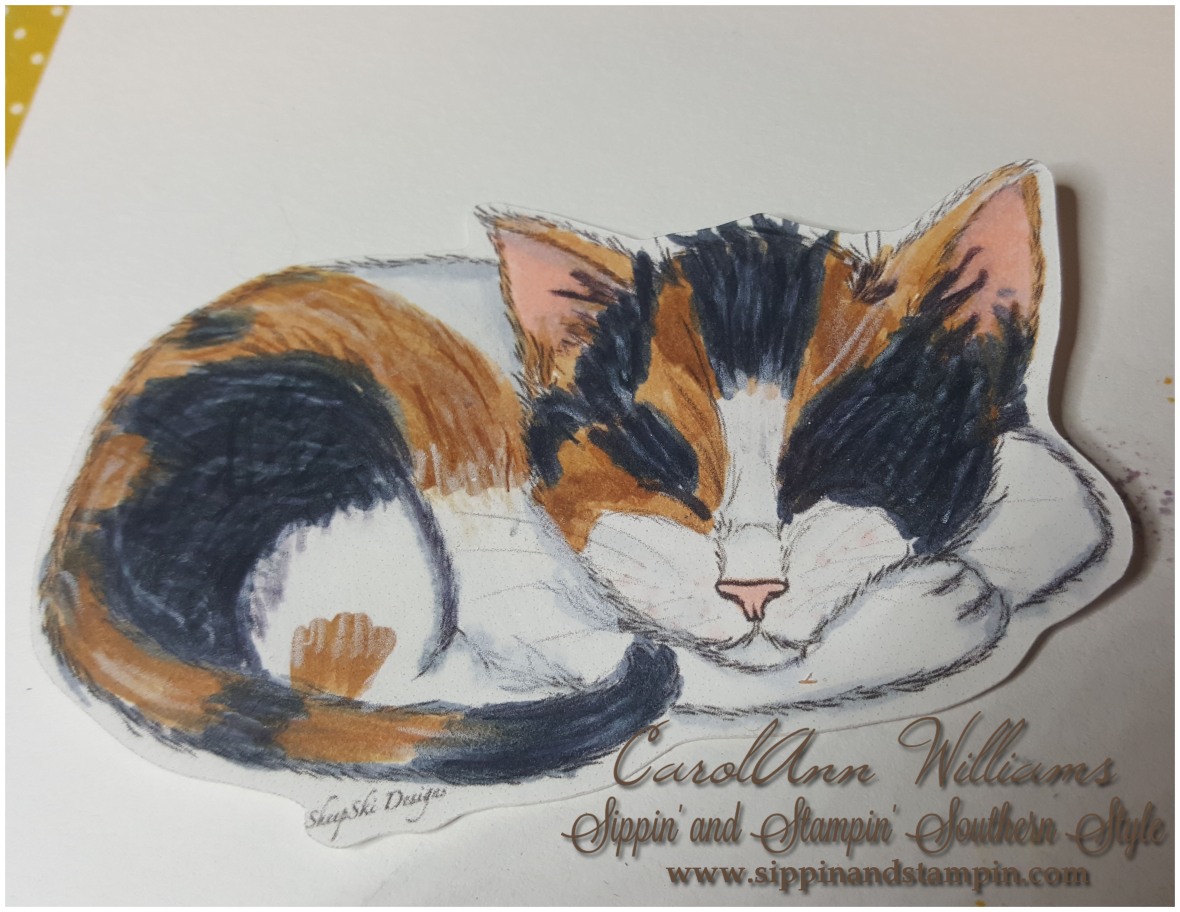
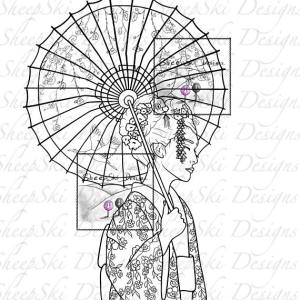
I am using SheepSkiDesigns image for my card.

il_570xn-1228899279_84dw
Now here is my card…
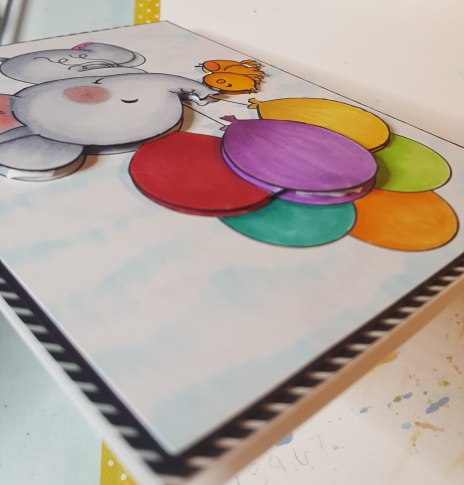
The card base is cream colored, then I layered it with pink and black cardstock.

sheepski designs - geisha 3.jpg

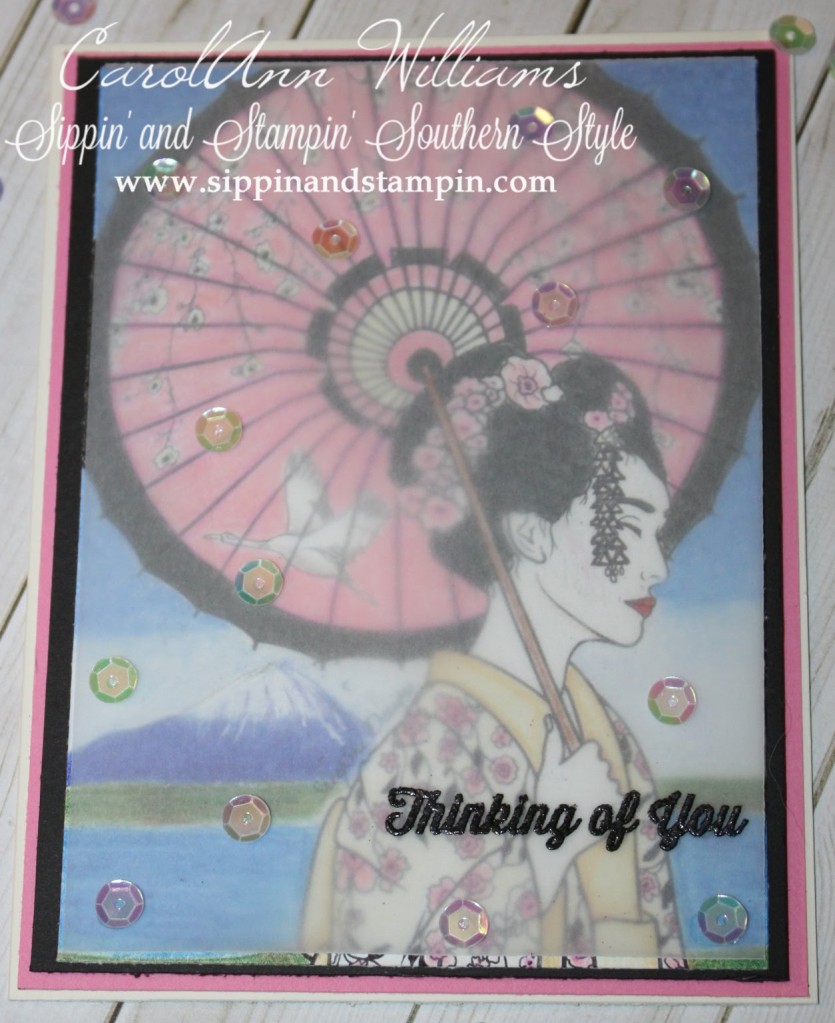
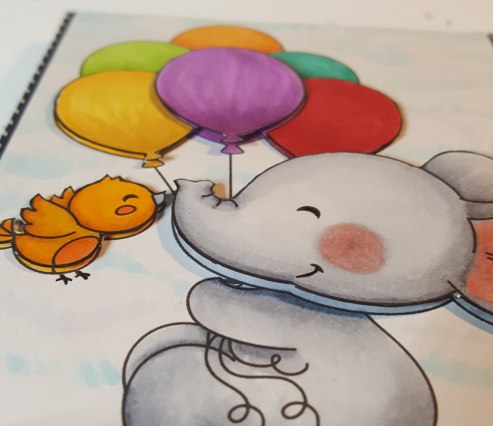
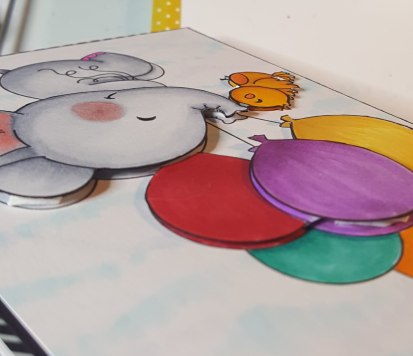
I put vellum over the top of the image to give it more of a soft touch to the card.


sheepski designs - geisha 1.jpg

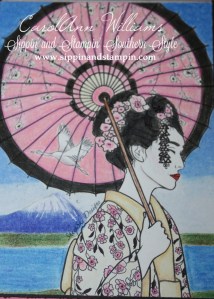
This is my colored image behind the vellum. I drew in Mount Fuji and the lake.

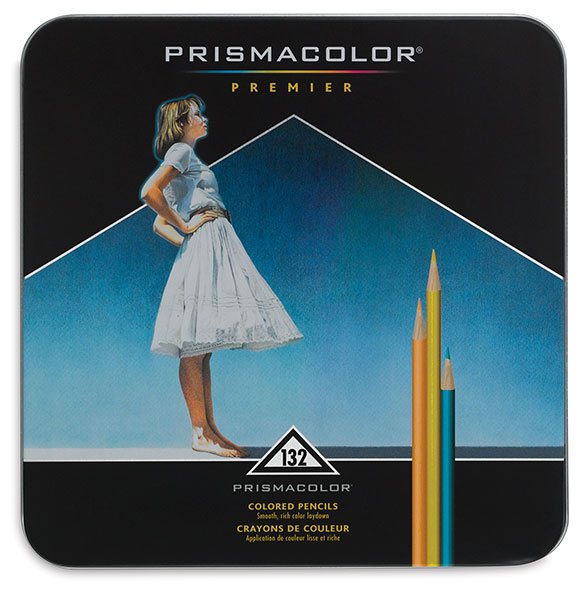
I used a bunch of colored pencils for this image – all are Prismacolor Premier Colored Pencils. Here are the pencil numbers that I used (please note the pencils all have a pc in front of the numbers)

Umbrella – 928, 1099, 993, 1067, 929, 935
Hair – 1056, 935, 1099
Kimono – 914, 940, 997
Sky – 1100, 1102, 1023
Grass – 988, 908, 945
Mountain – 1007, 933, 901
Flowers – 940, 928, 993, 929, 935
Chin Shadow – 927
Lips – 924
Water – 902, 1101, 1102
Cheeks – 928

Extras – 1077 and 938

Check them out here ===> PrismaColor Premier Colored Pencils

Thank you for stopping by and happy stamping 🙂
signature

Card, Challenge

Bunny Wagon – Di’s Digi Stamps

Hello, all you happy Stampers out there!

I am here today sharing a card for a Challenge at The Outlawz. I am so excited to show you my card/entry.

The challenge that I entered was a progressive challenge.

Not know what a progressive challenge is? That is ok, I will explain.

You enter the challenge and you will either have to purchase your first digi stamp or they will provide you with one. In this case, they provided me with a stamp for free. You use the digi stamp in a creation of your own, such as a card or scrapbook page.

You will then add your photo to your blog (like I am doing here) or to any social media and also to the challenge site (you can find challenge blogs all over the internet and even on Facebook).

After the entry has closed and you have uploaded your image before the close date, they will provide you with another image to use for free! Exciting right?!?!? I love them and getting to see how everyone else used the same image.

The image I was provided with was from Di’s Digi Stamps (https://www.disdigistamps.com/) <== Link to Di’s Digi Stamp store

challenge2bblog2bblinkie
Click the image above to go to Di’s Designs Challenge Blog – Yep Stampers, they have their own challenge blog! wp1809452

Here is the card I created.

Di's Digi Stamp - Bunny wagon

I printed the image out on Neenah exact index – white, smooth and 110 pounds. I trimmed it to fit my card base and colored it!
To color the image I used Copic Markers, Prismacolor Premier colored pencils, Touch Five markers, and also Prisma Color Premier marker.

Links for products are below:

Copic Sketch Markers
Copic Sketch Markers – $5.24

from: Blick Art Materials

Touch Twin Brush Markers and Sets
Touch Twin Brush Markers and Sets – $4.79

from: Blick Art Materials

Prismacolor Colored Pencils and Sets
Prismacolor Colored Pencils and Sets – $1.27

from: Blick Art Materials

Prismacolor Premier Double-Ended Art Markers
Prismacolor Premier Double-Ended Art Markers – $3.25

from: Blick Art Materials

Neenah Exact index White cardstock
Neenah Exact Index 110lb Cardstock

from: Concord Supplies

Thank you for stopping by and please follow me and comment below.

signature

Card

Have a Norse Day |

As I was perusing through some other blogs, I came across this amazing article on the MFT (My Favorite Things) blog. I have provided a link at the very bottom of this post to the original post 🙂 I love how much detail was put on  each card. Needless to say, these are going in my CASE file.


Shadow Box Card Directions:

  • Trim 2 pieces of card stock to 5″ x 8 1/4″.
  • Score these pieces on the long side at 1 1/4″ & 7″.
  • Cut an open window in one of the pieces (I used the A2 Rectangle Stax and added a frame from the Single Stitch Line Rectangle Frames.)
  • Adhere these two pieces together on one side where the side flaps will overlap (this will be the frame of your box.)
  • For the inside strips, cut 3 pieces of card stock to 6 3/8″ long at varying heights to add dimension (I used heights of 1 1/2″, 2″, and 2 1/2″).
  • Score each piece at 3/8″ & 6″.
  • After you are done scoring, you can die cut these pieces with whatever border dies (if any) that you want to use. I used the Grassy Hills Die-namics.

For my final card, I created a fun little Valentine-themed card. I made my card 5″ square and added some square layering panels using Cement Gray and Smooth White Card Stock. I also added a red &amp; white striped patterned paper panel from the Birthday Blowout Paper Pack. I die cut a few fishtail banners using the Stitched Fishtail Flag STAX with Wild Cherry Card Stock and vellum


.

In the center of my card, I added a stitched white heart using the Stitched Heart STAX. I placed my stamped, cut, and colored Viking on top of the heart with some foam adhesive squares. For my sentiment, I used the newly released From The Heart stamp set. I heat embossed my sentiment onto black cardstock with Super Fine Detail White Embossing Powder and then used one of the dies from the Hearts In A Row – Vertical Die-namics to cut it out.

Copic Colors Used:

  • Viking #1:  Skin: E50, E51, E21, E11, Beard: E42, E08, E09, E18, Coat: E21, E23, E27, E29, Shirt: BG11, BG32, BG 49, Pants: N3, N5, N8, Boots: E81, E84, E87, Ax: C1, C3, C5, C7
  • Viking #2:  Skin: E50, E21, E13, Beard: E13, E39, E19, E49, Coat: E40, E41, E43, Shirt: G20, YG25, G17, G28, Pants: E23, E25, E29, Boots: N3, N5, N8, Ax: C0, C2, C5
  • Viking #3:  Skin: E50, E21, E13, Beard: E50, E53, E55, E57, Coat: E13, E39, E19, E49, Shirt: R14, R46, R59, Pants: E40, E43, E44, Boots: E13, E39, E19, E49, Ax: C1, C3, C5

Thank you for allowing me the privilege of sharing these with you today!  I’ll be back at the end of the month to share one more post with you. Have a wonderful day and have fun creating!

Source: Have a Norse Day |

Card

Mermaid

Hello, all of you wonderful people 🙂

Today I am sharing with you an image from one of the coloring books by Jade Summer. This image can be found in the Mermaids Coloring Book (here is the link http://amzn.to/2mW9Nc1 ) it can also be found in a Coloring Book that consists of a compilation of several of the coloring books that they offer (it can be found here http://amzn.to/2Bi6px0 ).

Here it is.. Please leave a comment below and let me know what you think!

Jade Summer - Mermaid


Happy Stampin’
signature

Free, Give Away

GIVEAWAY!!!!!

GIVEAWAY TIME!!!!!

Who does’t love a chance to win something free… Enter to win by clicking the image below!

Click on the image to enter

What are you trying to win – Fabric Grab Bags…

Here are the details:

From now until Thursday, January 25th, enter for a chance to win one of 50 fabric grab bags! Each grab bag contains an assortment of (10) 1-yard cuts of fabric!

Winners can choose from 3 grab bag options: Quilting, Apparel or Home Decor.

Winners will be announced on Friday, January 26th at 11 a.m. ET!


While you are at Fabric.com entering, please take a look around. They have an amazing selection of fabric and notions at super terriffic prices.

After you enter please share this post with your friends and family then come back here and comment and let me know.

Thank you and Happy Stampin’
signature

Card, tutorial

Happy Hello – colors

Welcome back all of you wonderful stampers!
Yesterday I posted a card with an elephant and balloons… I told you I would be back today to share the colors that I used in the project.

Below is an image I created with the colors that I used.

happy-hello-color-chart

I hope you can find some use for it, and of course, if you create something using these colors or are inspired by anything on my blog please comment and let me know 🙂 I would love to see it.

Happy Stampin’

signature

Card

Happy Hello

Today’s card is a happy hello. The image is from Craftin’ Desert Divas. I had so much fun creating this card.

CDD happy hello 1
I colored the image with Copic markers 3 separate times. Then fussy cut the elephants head and bird out.

20180114_231237.jpg

I also cut out the purple balloon from the rest of the image and then I cut out the red balloon and yellow balloon but kept them connected.

20180114_231300.jpg

I used foam tape and mounted the cut images over the full image to create the card front.

20180114_231212.jpg

Here is the finished card again

CDD happy hello 1

Below you will find some links to products that I used.

Tomorrow I will post more about the card and provide a graphic of colors that I used 🙂

Happy Stampin’ and thanks for stoppin’ by

signature


Card

Marci…

There is a company called La-La-Land Crafts and they have the cutest digi stamps. One of their figures is called Marci. She is the cutest lil’ thing.

Today I am sharing Marci and a Balloon. I colored her with copic markers and a white gel pen for a little extra highlight.

LaLaLandMarciGlasses
Isn’t she just the cutest!!!  Now I just need to create a card using her!

Here is a special if you are looking to purchase any art supplies!

Get 15% off Blick orders of $69 or more, plus $35 free shipping! Use code CELP. Offer expires midnight (CST), Saturday, January 13th, 2018. Exclusions apply.

Thank you for stopping by and happy stampin’

signature

Card

Cat Nap

Hello, all you happy Stampers out there!

Today the project that I am sharing is a kitty that was a digital stamp from SheepSki Designs. I absolutely love this kitty cat. I colored it with Copic markers and colored pencils. I also used my die cut machine (Silhouette Cameo) to cut it out.

IMG_2635   IMG_2582

My color inspiration was my daughter’s kitty cat Freya she’s just absolutely adorable. My daughter calls her Perma Kitty.. I know super cute right?!?

20180105_212028

I made sure that she sent me photos of her laying down in the curled-up position and also a face shot. I wanted to make sure I could get the coloration of the Calico down pretty close. I don’t think I did a bad job either using a variety of different colors to try to match up the coloration of Freya.

I am going to turn this little girl into a laminated magnet.

Happy Stampin’
signature